Introduction
Integrating Mailchimp with Magento 2 offers a powerful combination for e-commerce businesses looking to enhance their email marketing strategies. This comprehensive guide walks through each step of the integration process, starting from downloading and installing the Mailchimp extension, to configuring settings, syncing data, and verifying the integration. With Mailchimp's robust features, businesses can automate email campaigns, segment audiences, and track performance metrics, all of which are crucial for driving customer engagement and boosting sales.
By following these detailed instructions, e-commerce store owners can ensure a seamless and effective integration that leverages the full potential of Mailchimp's marketing capabilities.
Step 1: Download and Install Mailchimp Extension for Magento 2
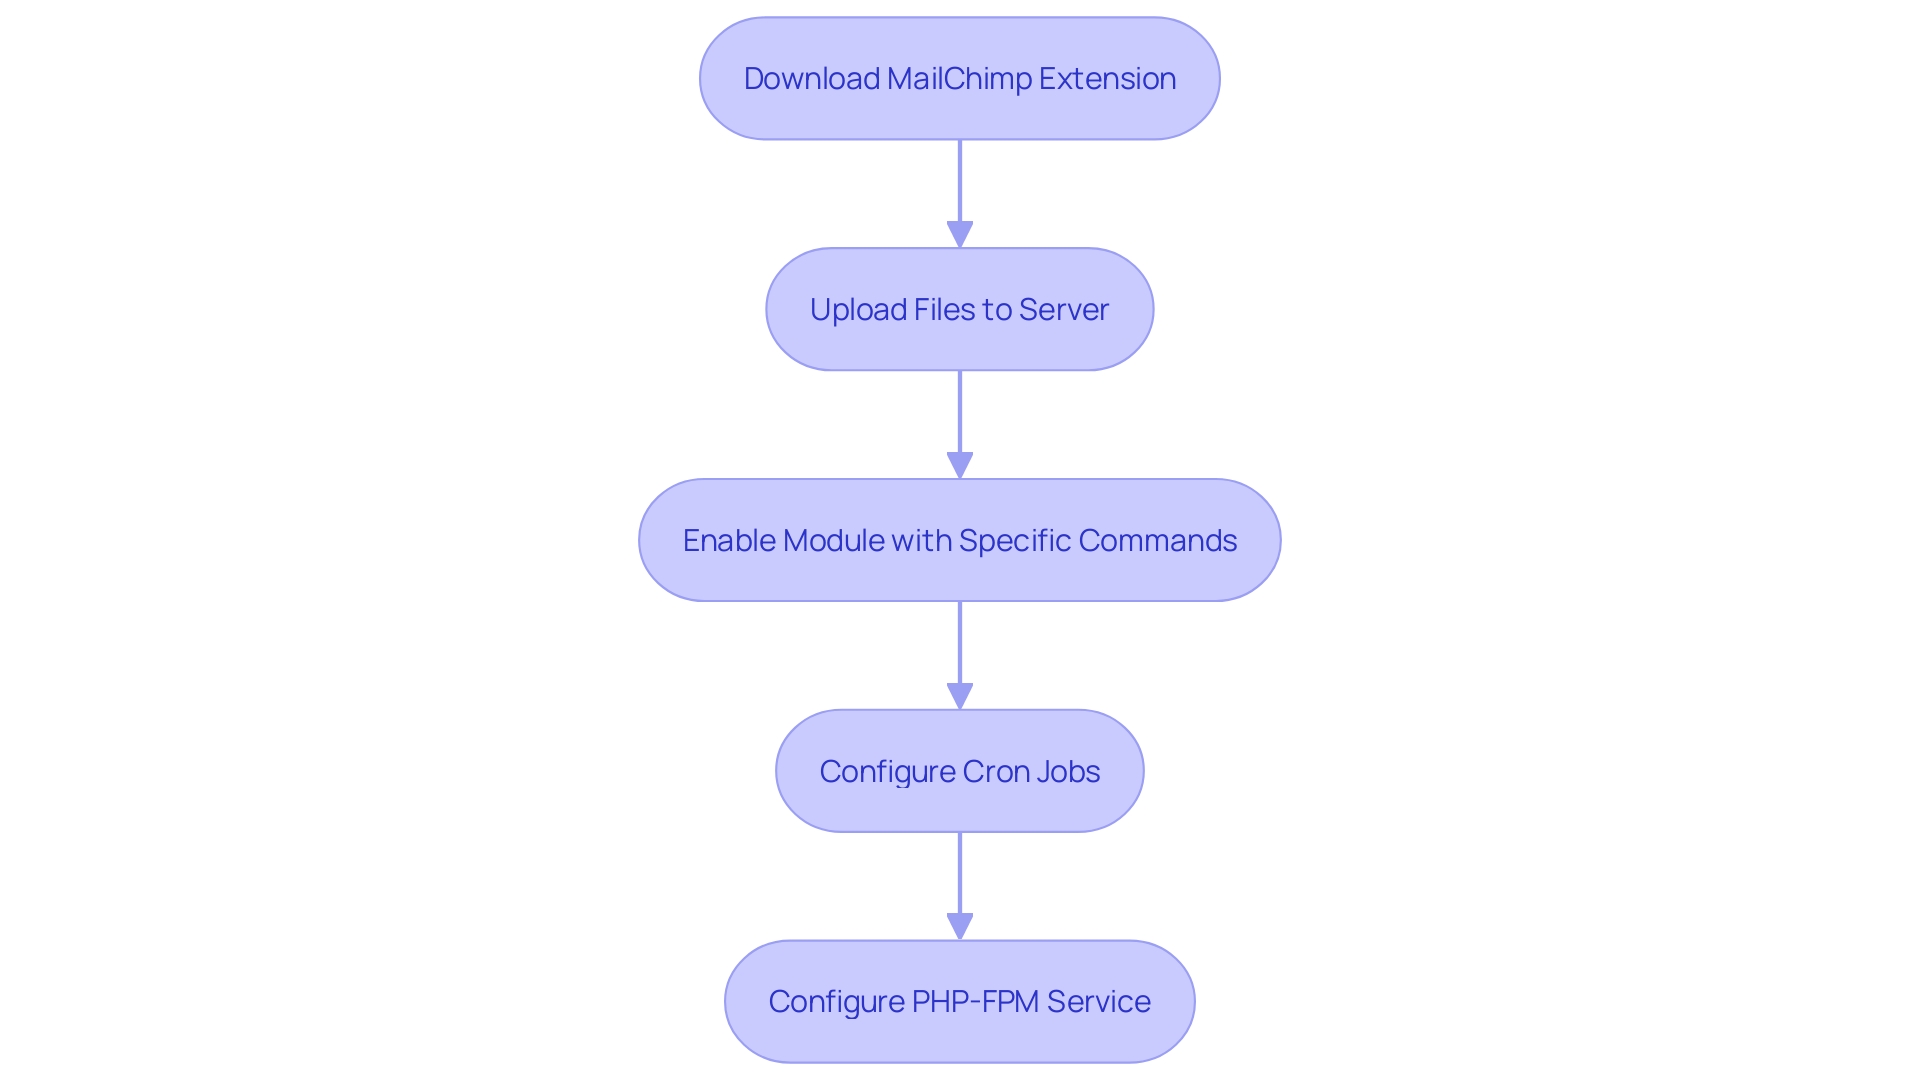
To integrate MailChimp with your e-commerce platform, begin by downloading the MailChimp extension from the official Marketplace. Make sure to select the right version that works with your installation. Once downloaded, access your root directory via FTP or SSH and upload the extension files. After uploading, execute the following commands to enable the extension:
bash
php bin/magento module:enable Mailchimp
php bin/magento setup:upgrade
php bin/magento cache:clean
php bin/magento cache:flush
This will activate the Mailchimp extension within your store. Next, configure your eCommerce platform cron jobs and the PHP-FPM service to ensure smooth operation. By incorporating the platform, you can utilize its powerful features like automated email campaigns, helping you send tailored messages to customers based on their interactions with your business. This can significantly enhance your customer engagement and boost sales.

Step 2: Set Up Mailchimp Integration for Your Magento Store
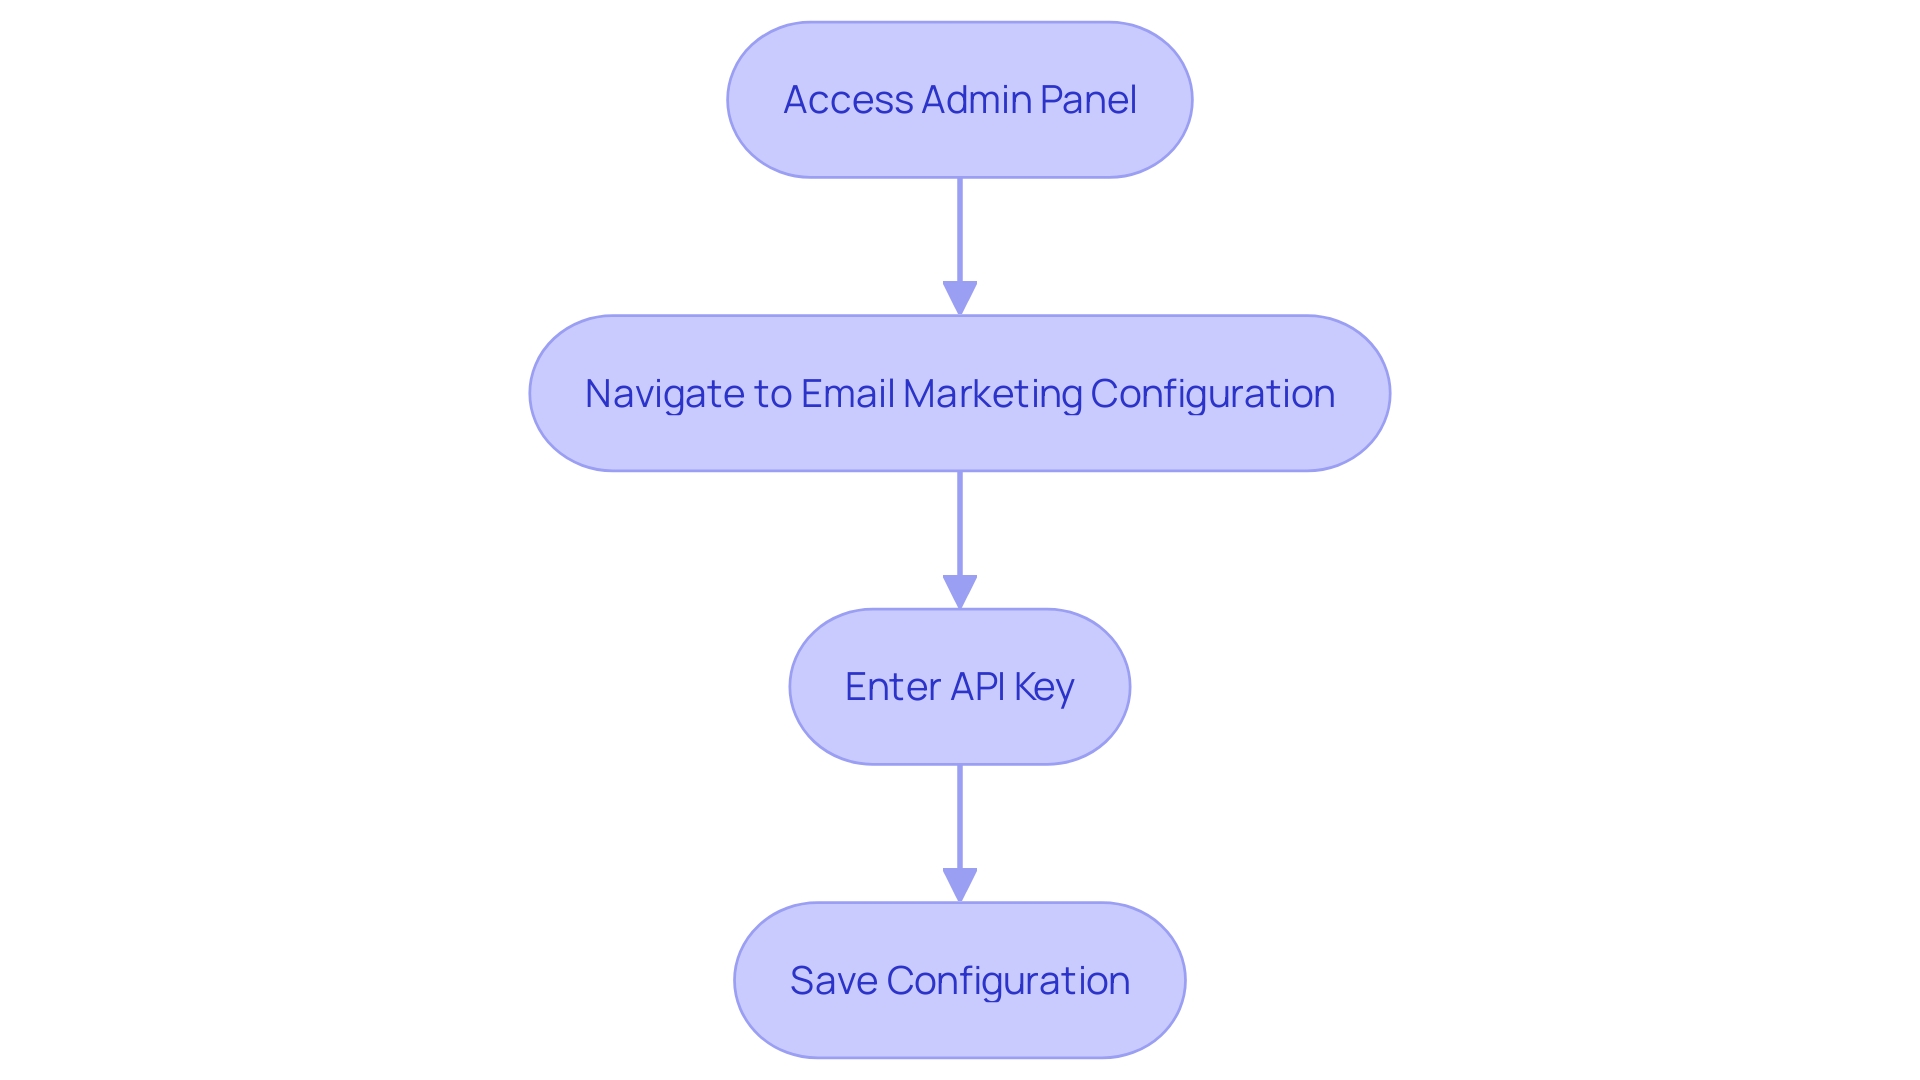
'After adding the extension, enter your e-commerce platform's admin panel and go to Stores > Configuration > Email Marketing.'. Here, you will need to input your API key, which can be found in your account settings. By entering the API key and saving the configuration, you establish a vital connection between your online store and the email marketing service. This integration allows you to leverage the robust features of the email service, such as automated and customized email campaigns, enhancing your marketing strategies without needing to be online constantly. This setup is straightforward, ensuring your e-commerce platform runs efficiently while you focus on other critical tasks.

Step 3: Configure and Connect Mailchimp with Magento
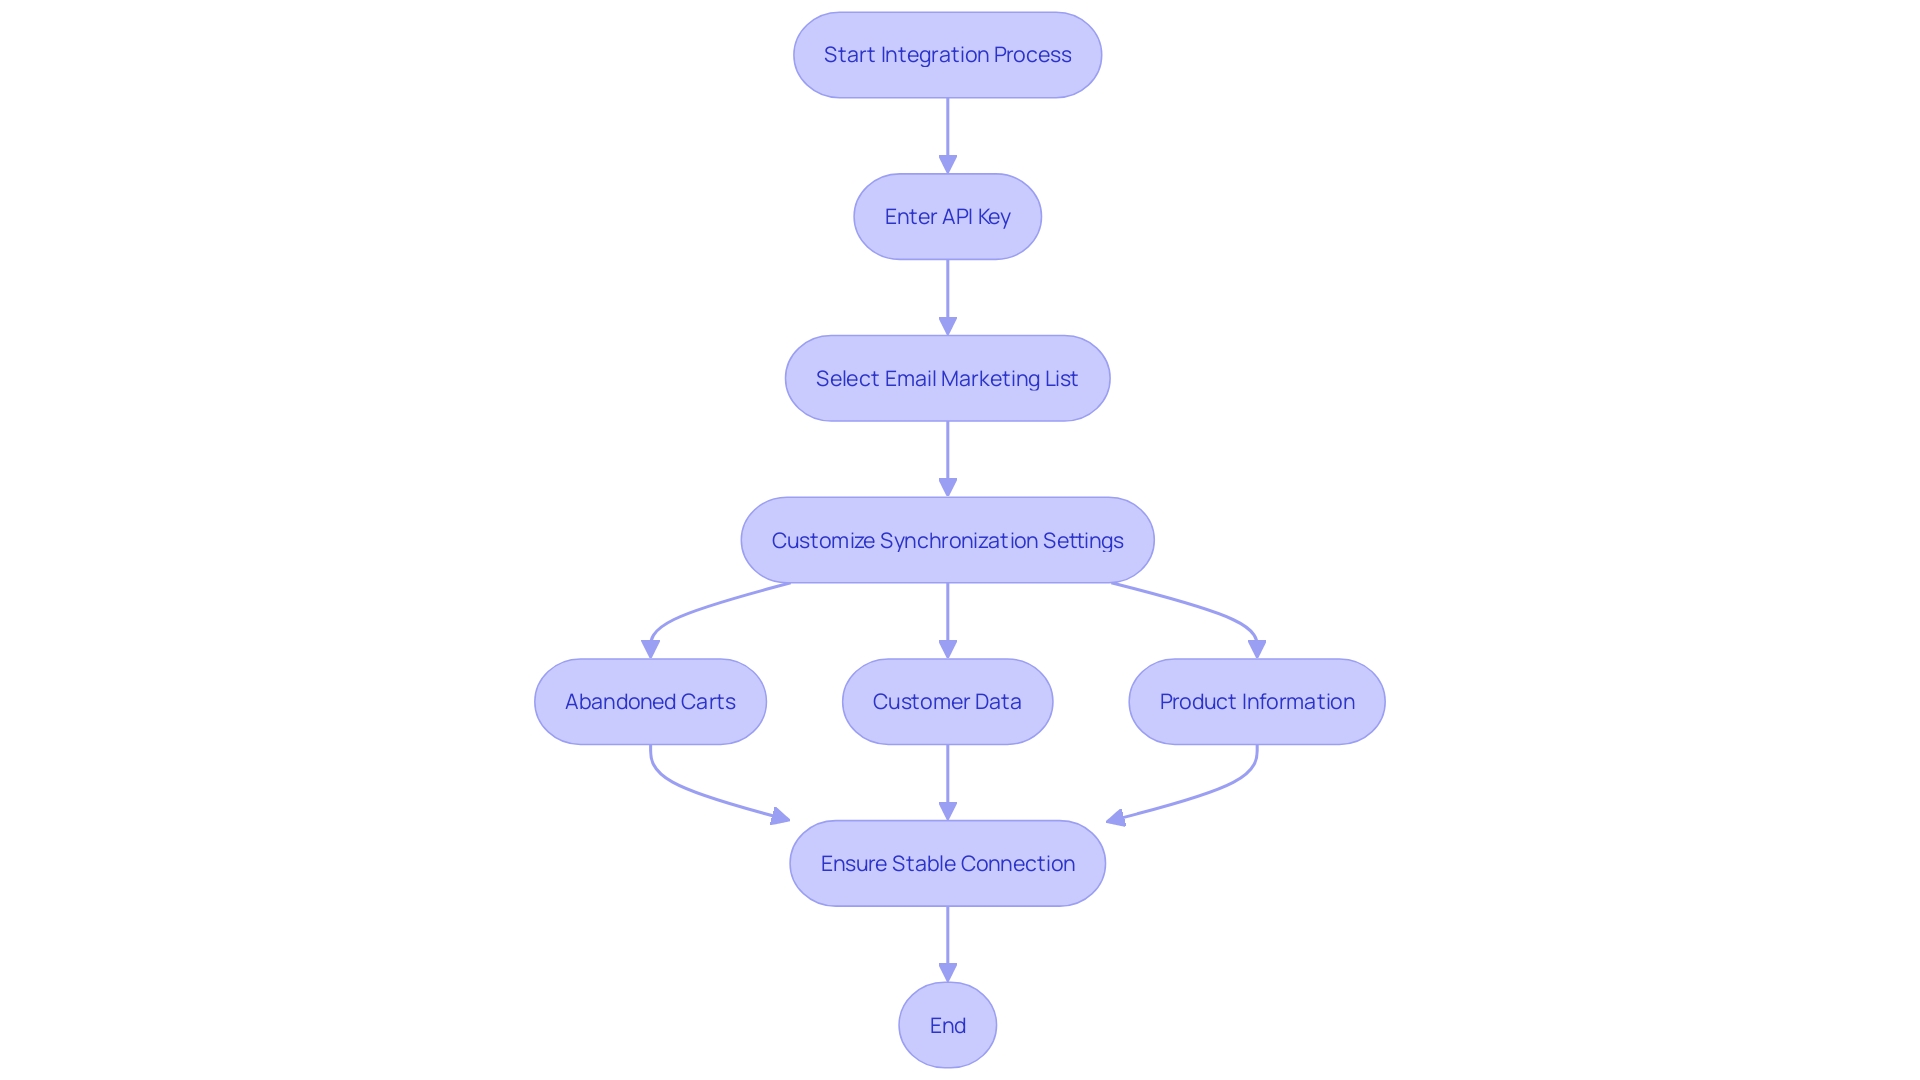
After entering the API key, go to the settings for your email marketing service in your Magento admin panel. Choose the email marketing list to synchronize with your customer data. Customize settings for syncing abandoned carts, customer data, and product information. Save all settings to ensure a stable connection. Utilizing the platform's robust features can enhance your audience engagement, as Jim Stephen noted, 'We were struggling to streamline our workflow between the service and Vend, but with Connect, we were able to automate everything in just a few clicks.'. Highly recommended!'

Step 4: Create a New Mailchimp Store in Magento 2
To officially establish a new shop in the platform through another service, navigate back to the integration settings in your dashboard. Look for the option to create a new store on the email marketing platform. You'll need to fill in essential details such as the store name, URL, and other pertinent information. Once you have completed the form, click on the 'Create Store' button. This action will seamlessly sync your online store data with the email marketing service, ensuring your e-commerce operations remain integrated and up-to-date. Keep in mind, the features for connecting go further than only the specified platform. Platforms like Zapier offer expansive integration options, connecting a well-known email marketing service with over 3,000 apps, including popular services like Facebook, Gmail, and PayPal, maximizing your marketing potential.
Step 5: Configure Mailchimp Settings Inside Magento 2
After creating your store in MailChimp, return to the MailChimp settings in Magento to fine-tune them according to your marketing strategy. Begin by setting up automated communication campaigns, which are essential for engaging your audience at various points of their journey. For instance, if a customer makes a purchase, you can arrange follow-up messages to request feedback, enhancing customer experience and loyalty.
Segmenting your audience is another powerful feature. By navigating to 'Audience' and selecting 'Segments,' you can create tailored segments based on various criteria, such as recent purchases or engagement levels. This enables you to send more personalized and relevant messages, which is crucial as communications with three images or fewer and about 20 lines of text have the highest click-through rates.
Lastly, don't forget to set up tracking for message performance. Monitoring metrics like open rates, click-through rates, and conversions provides valuable insights into what's working and what needs improvement. With email users projected to reach 4.37 billion globally in 2023, utilizing the complete features of this platform guarantees your email marketing approach stays efficient and competitive.
![]()
Step 6: Verify and Test Your Mailchimp Integration
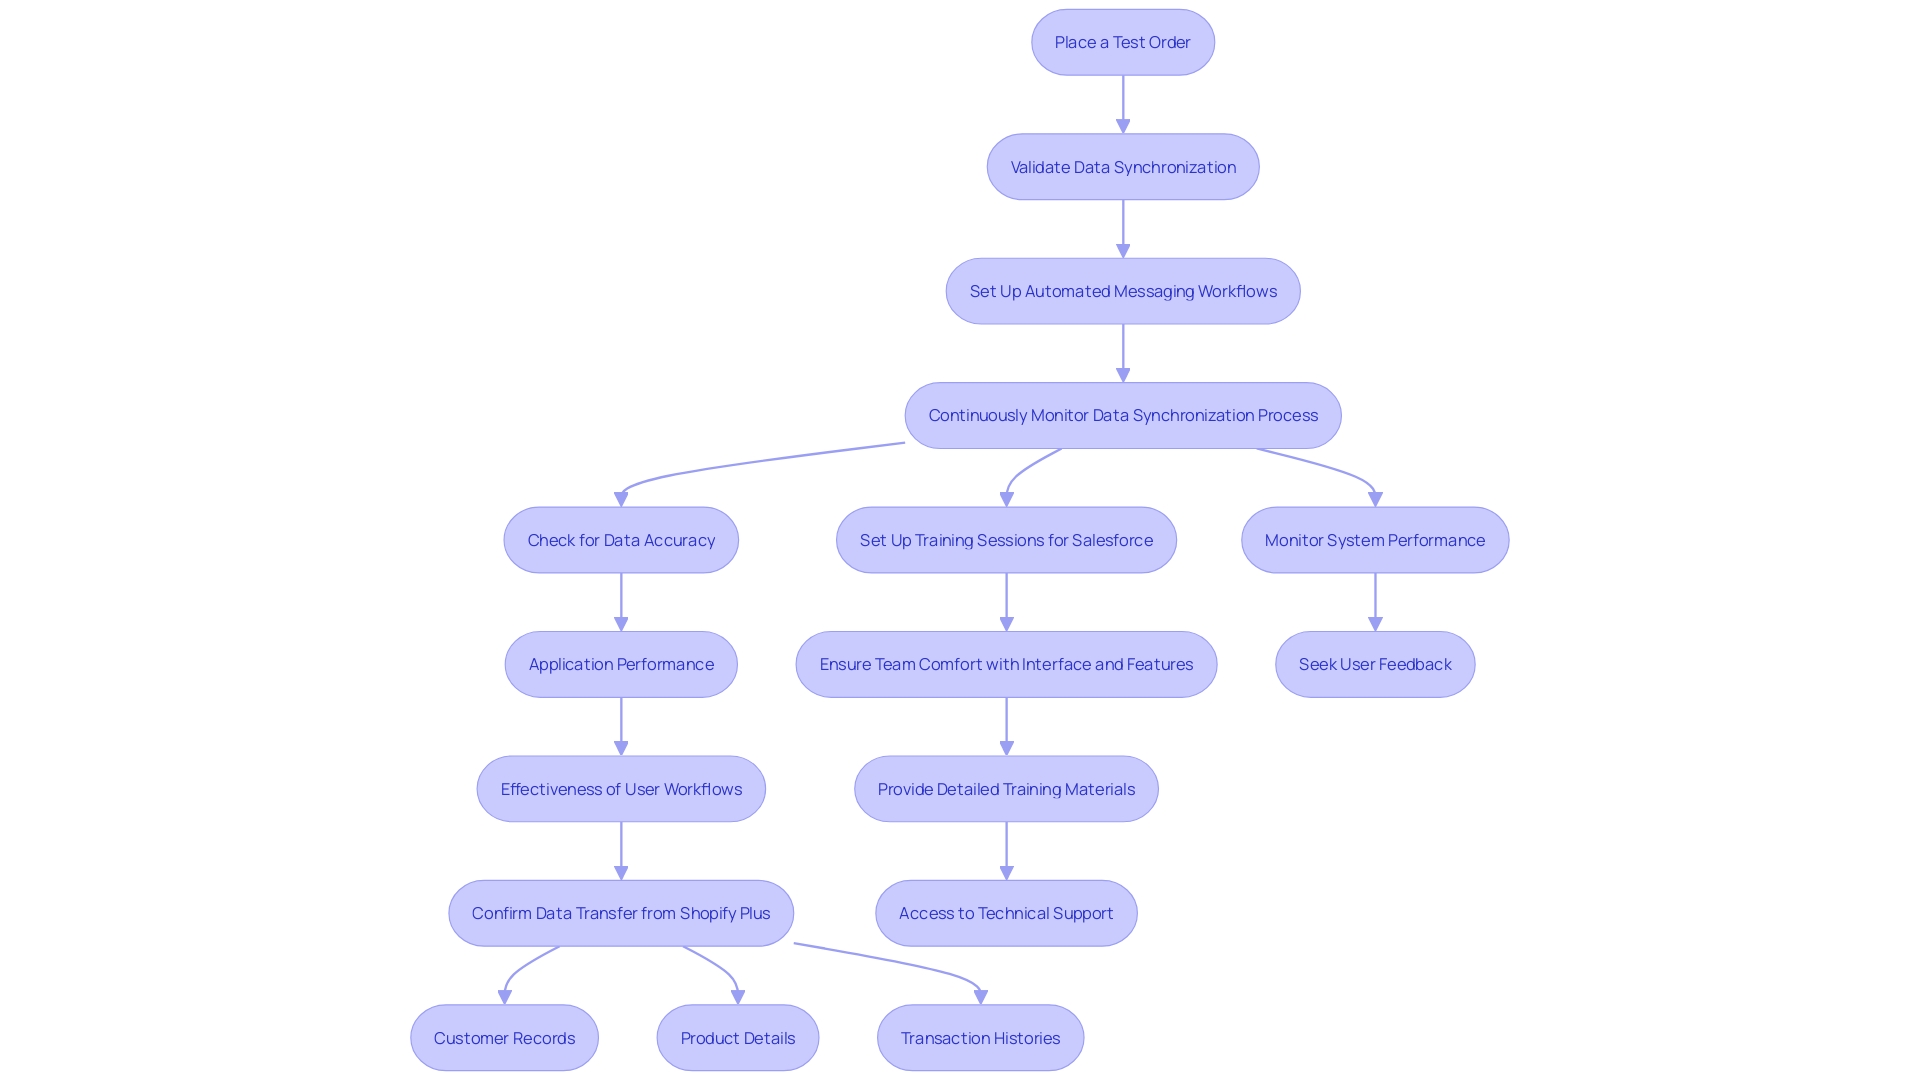
Confirming the connection between the e-commerce platform and the email marketing service is essential for guaranteeing a smooth operation. Start by placing a test order on your Magento store and confirm that the customer data accurately reflects in your MailChimp audience. This step is fundamental for validating the initial data sync and ensuring no discrepancies.
Next, focus on the automated messaging workflows. 'Whether it's a welcome message series or abandoned cart reminders, it's essential to ensure these communications trigger correctly and deliver as intended.'. For instance, companies like Headspace have successfully used greeting messages to set user expectations and encourage initial purchases. Such workflows can significantly boost user engagement and conversion rates.
Finally, continuously monitor the data synchronization process. 'Improved data visibility offered by this connection enables you to monitor and observe data instantly, facilitating the identification and resolution of any problems quickly.'. This meticulous approach ensures that your email marketing campaigns run smoothly and that your customer data remains accurate and actionable.

Troubleshooting Common Issues with Mailchimp Integration
To ensure a smooth integration between Magento and Mailchimp, consider the following steps if you encounter any issues:
- Confirm that your Mailchimp API key is accurately entered in the settings.
- Ensure the email marketing extension is enabled and configured correctly.
- Check for conflicts with other extensions that might disrupt data synchronization.
- Consistently oversee the connection performance and refresh both Magento and the Mailchimp extension to avert possible problems.
Furthermore, clearly outline your connection objectives and test the setup thoroughly before going live. Employing suitable triggers and actions aligned with your objectives can make a significant difference. If errors persist, consult MailChimp documentation or reach out to their support team for specific error messages. Staying proactive in managing and updating the integration can greatly enhance its efficiency and reliability.
Conclusion
Integrating Mailchimp with Magento 2 is a strategic move for e-commerce businesses aiming to elevate their email marketing initiatives. The process begins with the installation of the Mailchimp extension, which lays the groundwork for a robust connection between the two platforms. By entering the Mailchimp API key, store owners unlock a wealth of features, enabling automated campaigns and customized marketing strategies that cater to customer behavior.
Further configuration within the Magento admin panel allows for tailored audience segmentation and the creation of new Mailchimp stores, ensuring that customer data is seamlessly synced and up-to-date. These steps not only enhance engagement but also improve the overall marketing efficiency of e-commerce operations. Moreover, testing and verifying the integration is crucial to maintain the accuracy of customer data and the effectiveness of email workflows.
In conclusion, leveraging Mailchimp’s capabilities alongside Magento 2 can significantly amplify marketing efforts, driving customer engagement and boosting sales. By following best practices in setup, configuration, and ongoing monitoring, businesses can ensure that their email marketing strategies remain effective and competitive in a rapidly evolving digital landscape.


